A loose lug on a busy distribution board doesn’t announce itself. It runs hot for weeks, sometimes months, until the insulation gives up and you’re looking at a burned-out panel, an outage, or a fire.
A thermal imaging camera turns that invisible problem into an obvious bright spot you can spot in a 30-second scan under load no contact, no shutdown, no guesswork.
If you’re an electrician, contractor, or maintenance tech deciding which thermal camera actually to buy in 2026, this guide cuts through the spec sheets.
Below you’ll find the specifications that matter for electrical work, the models worth your money at each budget, and how to match a camera to the kind of work you do.
Why Electricians Use Thermal Imaging
Thermal cameras detect infrared radiation and convert it into a visible heat map, letting you see temperature differences the naked eye can’t.
For electrical diagnostics, that’s a shortcut. Instead of systematically checking every connection on a loaded board or waiting for something to fail, you point the camera and instantly see which terminals, breakers, or conductors are running hot.
The payoff shows up in three areas: safety (finding faults before they become fires), speed (a fast scan replaces slow, systematic testing), and revenue (many contractors sell thermal inspections as a recurring service and as documentation for predictive maintenance programs).
Prices have dropped sharply over the last five years, so the tool now pays for itself after preventing a single serious fault.
Specs That Actually Matter for Electrical Work
Manufacturers list dozens of numbers. For panel and switchgear work, only a handful move the needle.
Detector Resolution
This is the single biggest factor in what you can actually see, and it’s measured in thermal pixels (not the visible-camera megapixels marketing loves to highlight). More pixels mean you can resolve a single hot terminal instead of a vague warm blob.
- 160×120 (19,200 pixels): the practical minimum for professional electrical work. Adequate for spotting hot spots on panels at close range.
- 256×192 to 320×240 (up to ~76,800 pixels): the sweet spot for professional diagnostics and clean report images. You see patterns and pinpoint the exact component.
- 640×480 (307,200 pixels): industrial and thermography-grade, for detailed equipment diagnostics and quantitative analysis from a distance.
For most electricians, aim for at least 160×120 and buy the highest resolution your budget allows.
Thermal Sensitivity (NETD)
NETD (Noise Equivalent Temperature Difference), measured in millikelvin (mK), tells you the smallest temperature difference the camera can distinguish. Lower is better.
Under 50 mK is excellent; 50–70 mK is solid for standard professional work. Better sensitivity helps you catch early-stage faults before the temperature rise becomes dramatic.
Temperature Range and Accuracy
Make sure the camera covers the temperatures your systems reach under load. A range topping out around 150°C is fine for most electrical work, though industrial motors and process equipment can demand more.
Accuracy of roughly ±2°C is the norm and is plenty for spotting relative differences between phases or terminals.
Image Fusion (MSX / IR-Fusion)
FLIR’s MSX and Fluke’s IR-Fusion overlay the visible light image onto the thermal picture, embossing edges and text like the label on a breaker directly onto the heat map.
This is genuinely useful: it lets you identify which component is hot without cross-referencing a second photo, and it makes your reports far clearer to the client.
Build, Battery, and Connectivity
Job-site cameras need a decent IP rating against dust and splash and should survive a drop onto concrete.
Watch battery life. Several popular pocket models run about four hours, enough for a day if you carry a charger.
Cloud and app connectivity (FLIR Ignite, Fluke Connect) matters if you generate reports or run structured inspection routes.
Best Thermal Imaging Cameras for Electrical Work in 2026
Best Overall Pocket Camera: FLIR C5
The FLIR C5 is the camera most commonly recommended by electricians who’ve used several.
It’s a compact, pocket-sized unit with a 160×120 detector, a built-in visible camera with MSX fusion, and FLIR Ignite cloud connectivity for direct image upload.
Resolution is adequate for the vast majority of panel and distribution board inspections, the software ecosystem is the most mature in the business, and it lands in the roughly $500–$900 range.
The main limitation is around four hours of battery life. For most electricians, this is the default choice.
Best Value: HIKMICRO Pocket Series
HIKMICRO has become a serious value competitor, offering higher resolution per dollar than equivalent FLIR pocket models.
The Pocket 2, for example, delivers 256×192 resolution with standard radiometric features in roughly the $500–$700 range.
The trade-offs: the app ecosystem is less polished than FLIR Ignite, the visible camera is lower quality, and some clients have reservations about Hikvision-affiliated brands. If you prioritize image quality per dollar over brand recognition, it’s hard to beat.
Best for Professional Electricians: Fluke TiS75+
Fluke’s strength is electrical and test-equipment integration, and the TiS75+ hits a sweet spot between professional features and reasonable cost.
It packs a 384×288 detector (over 110,000 pixels), enough detail to diagnose from a safe working distance, plus Fluke Connect compatibility and Fluke’s rugged, well-earned build reputation.
It sits well above pocket-camera pricing (roughly $2,000–$4,500 depending on configuration), so it’s aimed at full-time pros who need documentation-grade results.
Best Industrial Workhorse: Fluke Ti300+ / FLIR E-Series
For maintenance teams scanning motors, bearings, switchgear, and panels day in and day out, step up to a dedicated industrial handheld.
The Fluke Ti300+ is a mid-range workhorse (roughly $5,000–$8,000 depending on lens), and FLIR’s E-series (E8 Pro, E54, E96) covers everything from 320×240 professional units to 640×480 thermography-grade cameras.
Preventing electrical failure or bearing seizure typically justifies the investment several times over.
Best New Feature Set: FLIR i65

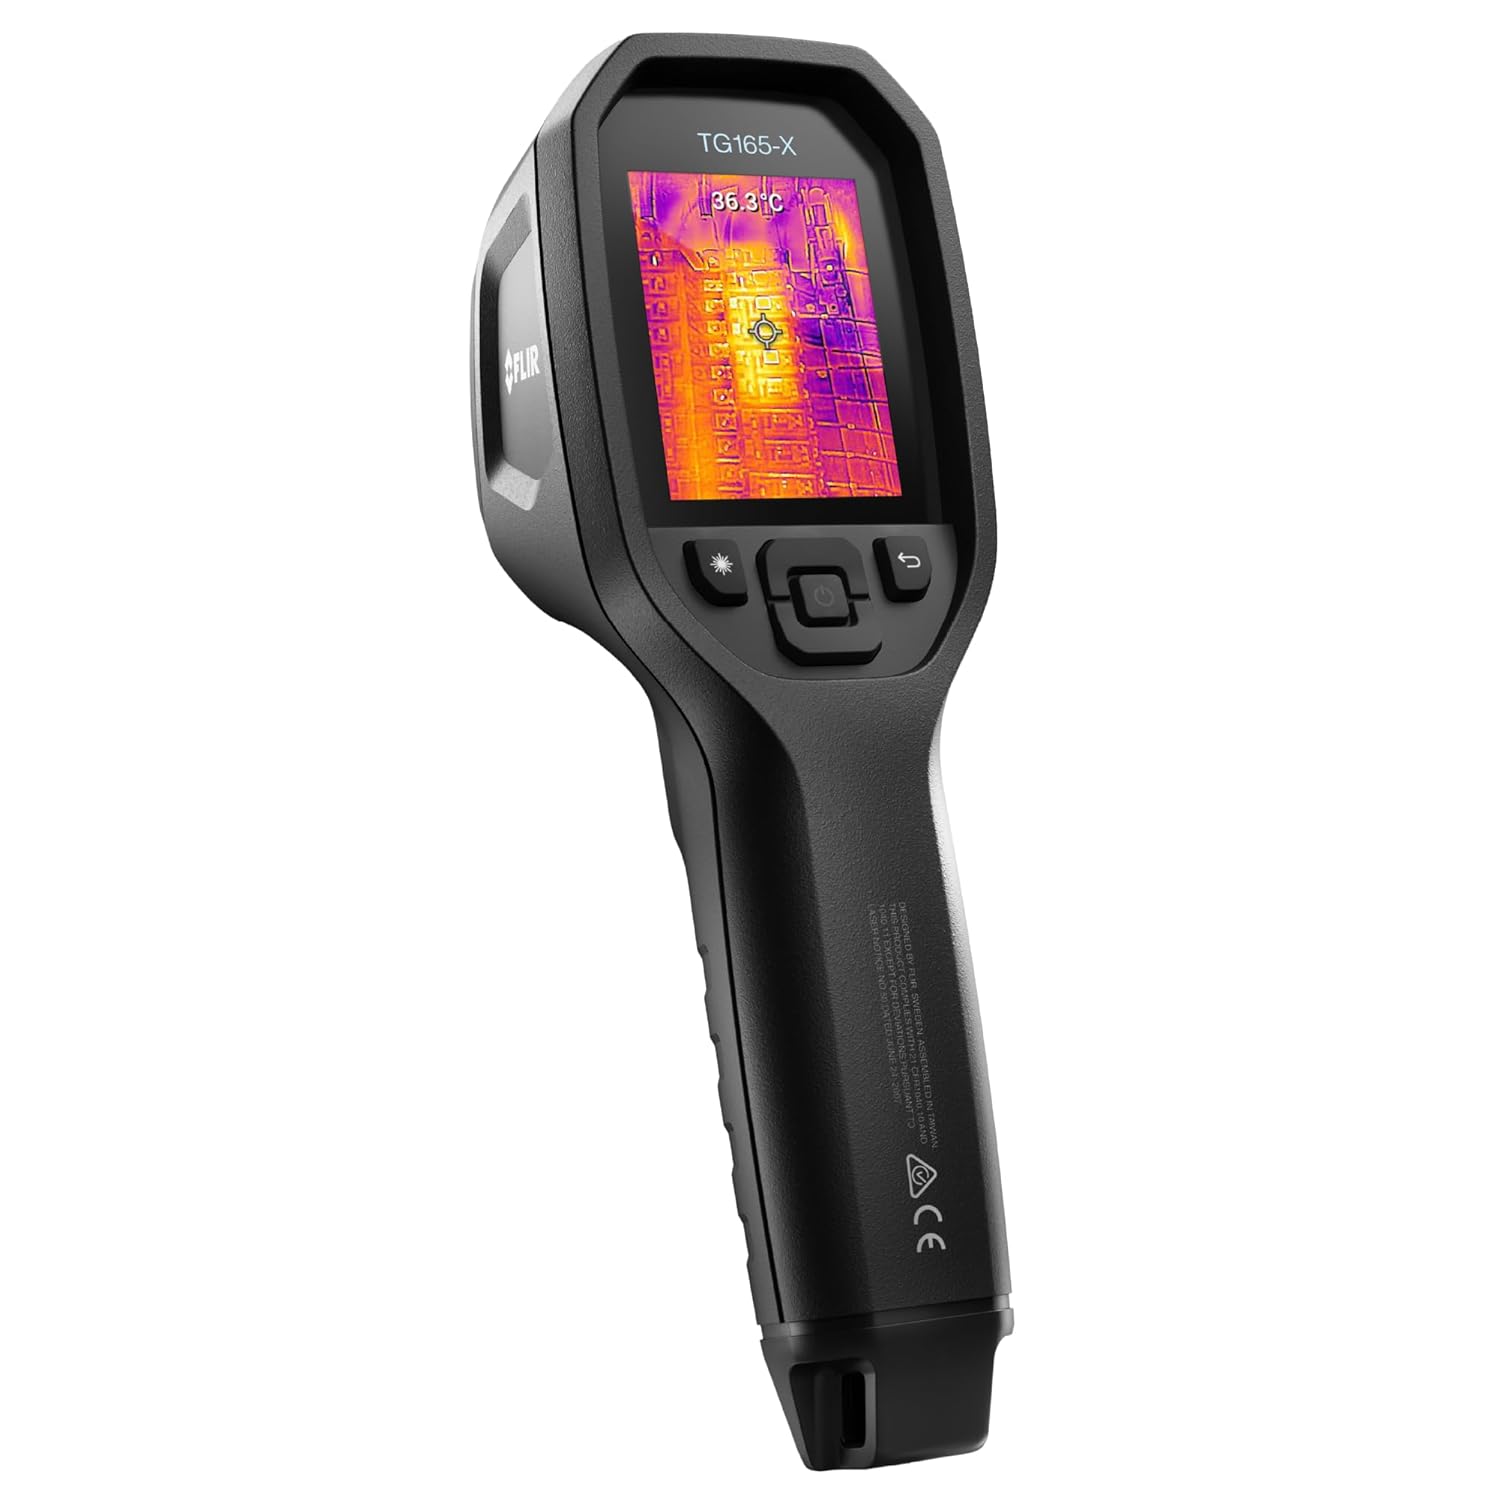
Announced at CES 2026, the FLIR i65 is worth watching if you run structured inspections. It offers app-driven guided workflows that walk technicians through NFPA 70B inspections step by step without requiring a certified Level II thermographer, plus built-in LTE that uploads radiometric data in real time.
At 480×640 resolution with a 5-inch touchscreen, it’s designed to put professional inspection routines in the hands of general maintenance techs.
How to Choose the Right Camera for You
Match the tool to your workflow rather than chasing headline specs:
Occasional troubleshooting, tight budget
A FLIR C5 or HIKMICRO Pocket gives you standalone capability without phone dependency for well under $1,000.
Full-time contractor selling inspections
Move up to a Fluke TiS75+ or a FLIR E-series unit for the resolution and reporting features that produce defensible, client-ready documentation.
Industrial / predictive-maintenance program
A Fluke Ti300+ or FLIR E-series with radiometric per-pixel data and cloud route management earns its keep.
Two more practical notes. First, a brand tends to outlast the model. Standardizing on one ecosystem (FLIR, Fluke, or HIKMICRO) across your team compounds benefits in training, workflow, and calibration service.
Second, the camera is rarely the full cost: budget for a carrying case, and remember that thermal imaging is a skill.
A camera doesn’t interpret itself. Invest in training (ITC Level I or an equivalent) so you read the images correctly and don’t chase false positives.
The Bottom Line
For most electricians in 2026, the FLIR C5 remains the proven, do-everything pocket choice, while the HIKMICRO Pocket series wins on pure value, and the Fluke TiS75+ is the step-up for professionals who need higher resolution and documentation-grade reporting.
Whichever you choose, prioritize thermal resolution first, then sensitivity and image fusion, and pair the tool with the training to use it well.
A capable thermal camera no longer costs a fortune, and the first serious fault it catches usually pays for the whole investment.
Disclosure: This article may contain affiliate links. If you buy through them, we may earn a commission at no additional cost to you.
Always follow safe working practices and applicable electrical standards when performing live thermal inspections under load.
